Authorisation and authentication
Without authorisation and authentication you'll only get access to roughly half of our API calls and features. For example, in order to buy contracts or utilise the Copy Trading features, your users must be authenticated and authorised by our OAuth provider and WebSocket Server.
Before we start
Please make sure you have all the requirements mentioned below to continue.
Requirements
- Deriv account
- Deriv API token with the appropriate access level
- Deriv app ID
Please refer to Setting up a Deriv application for detailed instructions on how to create a Deriv API token and application.
API token
An API token is a unique identifier of a client that requests access from a server. It's the simplest way of authorisation.
The access level for each API token has to match the required access level of each API call, which can be found in the API Explorer as well.
For example, on the screenshot below, you can see that to be able to use the Account Status, a token with read access level must be used.

Following the authorisation of a WebSocket connection, subsequent calls on that connection will be considered user actions.
Please bear in mind that the API token can be used with any app, so both your app and your clients need to keep it secure.
OAuth2
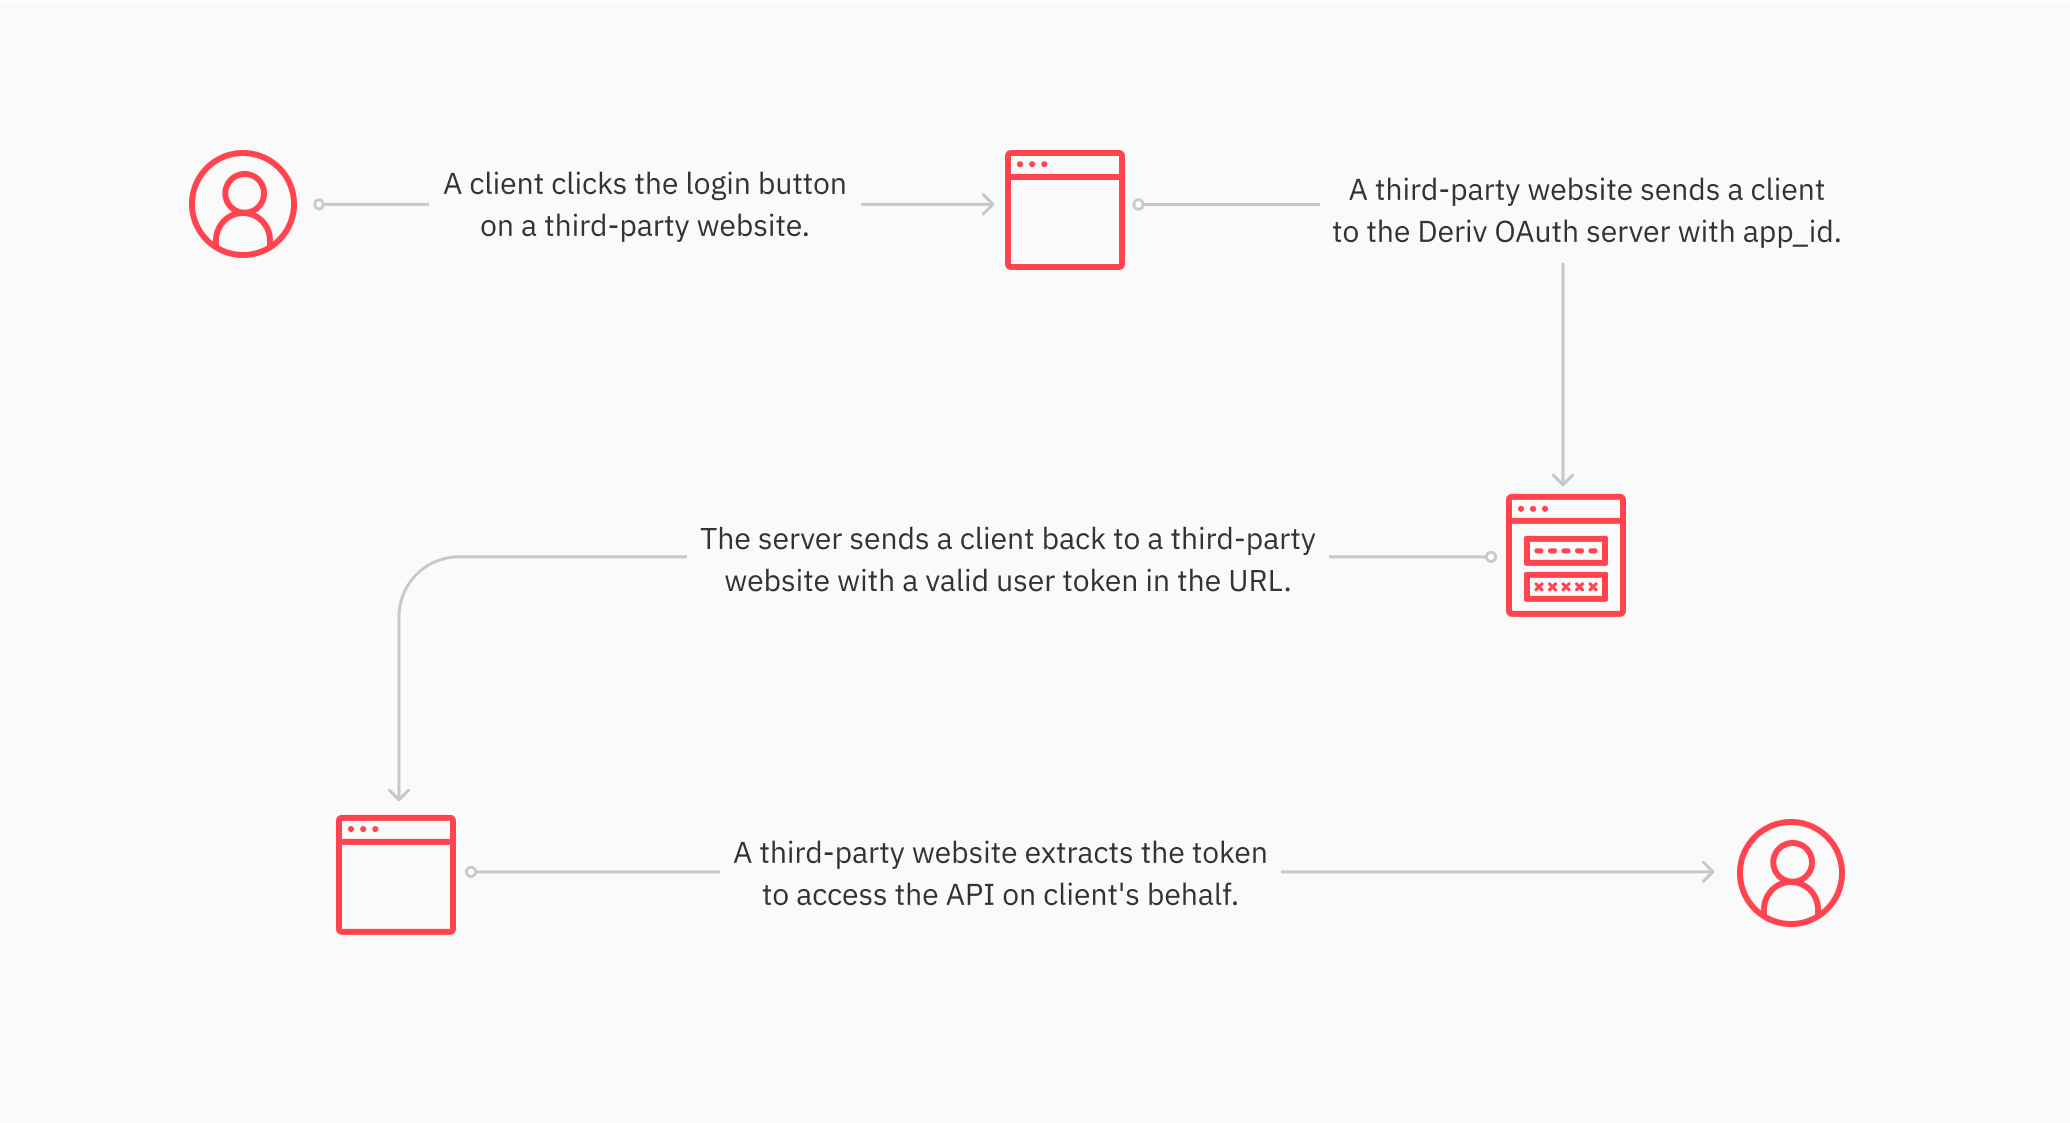
OAuth stands for Open Authorisation — a protocol that allows a client to access resources hosted on a server on behalf of the user without revealing the credentials.
This type of authorisation allows clients to log in to third-party apps using their Deriv accounts without creating an API token. In this case, the third-party app does not see the user's password or permanent API token, which makes it safer.
The OAuth2 authentication requires more steps to set up, but it is the safest way for developers to share access to their app with their clients.
For more information on OAuth2, visit this guide.
Here is the visual representation of how the OAuth authorisation connection works:

The authentication process
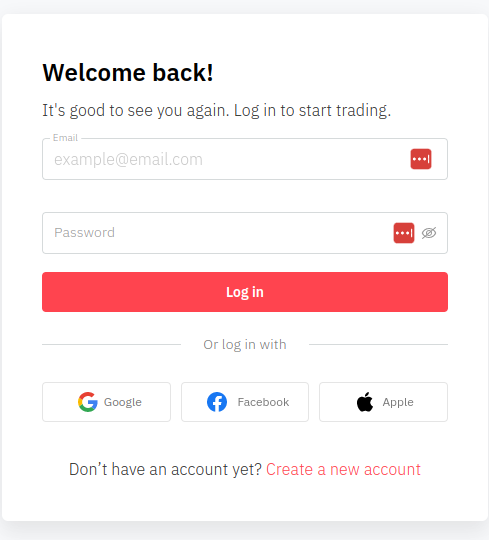
In order to authenticate your user, specify the URL that will be used as the OAuth Redirect URL on the Dashboard page, Register application tab in the OAuth details fields. Then, add a login button on your website or app and direct users to https://oauth.binary.com/oauth2/authorize?app_id=your_app_id where your_app_id is the ID of your app.

Once a user signs up/logs in, they will be redirected to the URL that you entered as the Redirect URL. This URL will have arguments added to it with the user's session tokens, and will look similar to this:
https://[YOUR_WEBSITE_URL]/redirect/?acct1=cr799393& token1=a1-f7pnteezo4jzhpxclctizt27hyeot&cur1=usd& acct2=vrtc1859315& token2=a1clwe3vfuuus5kraceykdsoqm4snfq& cur2=usd
The authorisation process
The query parameters in the redirect URL are the user's accounts and their related session tokens. You can map the query parameters to an array using the following approach:
const user_accounts = [
  {
    account: 'cr799393',
    token: 'a1-f7pnteezo4jzhpxclctizt27hyeot',
    currency: 'usd',
  },
  {
    account: 'vrtc1859315',
    token: 'a1clwe3vfuuus5kraceykdsoqm4snfq',
    currency: 'usd',
  },
];
To authorise the user based on the user's selected account, call the authorize API call with the user's selected account session token:
{
  "authorize": "a1-f7pnteezo4jzhpxclctizt27hyeot"
}
The response for the authorize call would be an object as below:
{
    "account_list": [
      {
        "account_type": "trading",
        "created_at": 1647509550,
        "currency": "USD",
        "is_disabled": 0,
        "is_virtual": 0,
        "landing_company_name": "svg",
        "loginid": "CR799393",
        "trading": {}
      },
      {
        "account_type": "trading",
        "created_at": 1664132232,
        "currency": "ETH",
        "is_disabled": 0,
        "is_virtual": 0,
        "landing_company_name": "svg",
        "loginid": "VRTC1859315",
        "trading": {}
      },
    ],
    "balance": 0,
    "country": "id",
    "currency": "USD",
    "email": "user_mail@email_provider.com",
    "fullname": " John Doe",
    "is_virtual": 0,
    "landing_company_fullname": "Deriv (SVG) LLC",
    "landing_company_name": "svg",
    "local_currencies": {
      "IDR": {
        "fractional_digits": 2
      }
    },
    "loginid": "CR799393",
    "preferred_language": "EN",
    "scopes": [
      "read",
      "trade",
      "trading_information",
      "payments",
      "admin"
    ],
    "trading": {},
    "upgradeable_landing_companies": [
      "svg"
    ],
    "user_id": 12345678
  }
Now, the user is authorised, and you can use Deriv API calls on behalf of the account.